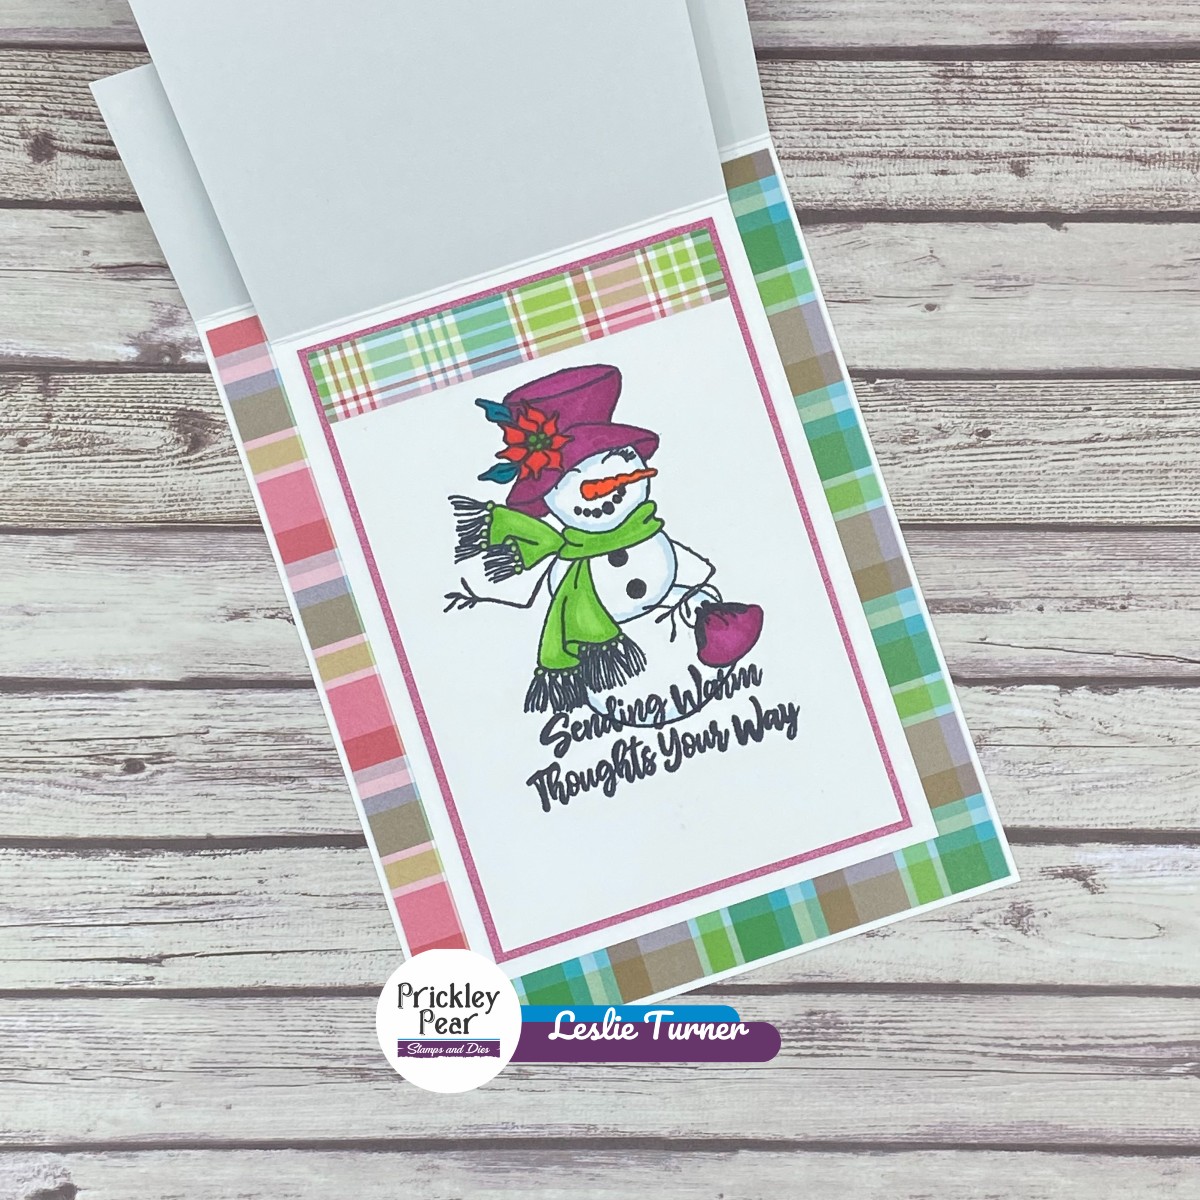
Hey everybody! Well, only a few more days before Santa arrives... I hope you're ready! I'm just shaking my head at how fast this year has flown by! Leslie here, sharing an inspiration project created with the Snow Ladies Trio stamp set along with the Nesting Tag Dies. I totally love this stamp set and have used all three images and three sentiments in the set to create a double flap fun fold, and I love how it turned out! I always love using non-traditional colors on Christmas cards!

The card bases, inside layering panel and one tag were cut from white cardstock. Another tag was cut from metallic pink cardstock and the layering panels were cut from coordinating prints in a cute plaid paper pad in my stash. I fashioned a bow from some pink gingham ribbon in my stash to embellish the pink tag. I have to say I'm really enjoying these Nesting Tag Dies because each one has a different stitched edge and they are so fun!

All three ladies from the Snow Ladies Trio stamp set were stamped in black ink and colored with alcohol markers, and each one sports a different sentiment. I totally love that different images and sentiments can be used on the multiple layers of this fun fold, providing little surprises for the recipient as each layer is lifted!
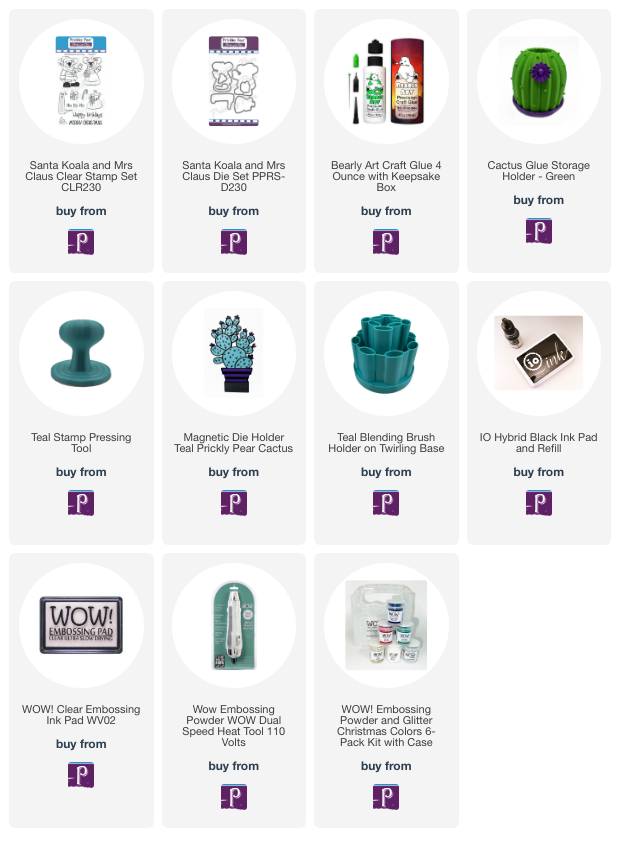
Prickley Pear Stamps products used:
Snow Ladies Trio stamp set
Nesting Tag Dies
Thanks so much for stopping by today - we'll see you again soon!
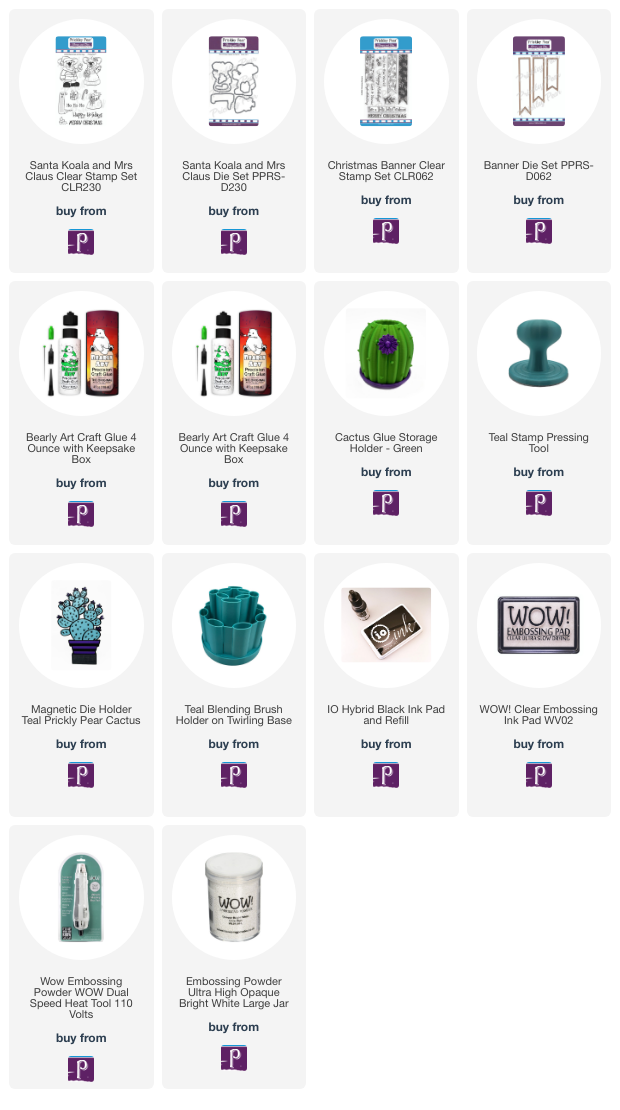
Snow Ladies Trio stamp set
Nesting Tag Dies
Thanks so much for stopping by today - we'll see you again soon!