Showing posts with label embossing. Show all posts

Wednesday, September 6, 2023

September 6, 2023 - Thanks CLR286 Stamps and PPRS-D286 Dies


It's back to school time and whether your student has been in school for a few weeks now or just getting started doesn't matter. What matters is are you supply ready with Thank You cards?

Hi all! Tia here with you from RockyMtnCraftia.com. I always looked forward to crafting a variety of Thank You cards and gifts when the school year got started. Ready to thank my son's classroom teacher, and para-professional. Thank his specials teacher (music/art/computers/gym) at back to school night. Better yet, was when he asked me for a Thank You card for the crossing-guard!

There are so many people in our lives that we can not only be Thankful For, but can also take time to just Thank! And this is the stamp set to do it! 


My cards today are super fast and easy! Perfect for making several to have in your stash! I began with an A6 sized card (4.5x6.25) I used design paper with a school theme. Keeping with that theme I selected the dash-lined Thanks stamp. It reminded me of the tracing letters you do when learning to write.


I embossed white letters on black cardstock and used the word die to cut out. Then used the reverse colors on 'for all you do' and fussy cut it out. 

I popped both sentiments on foam tape, layering them slightly. 

Using an old Cricket cartridge called 'Back To School', I cut out several apples from toner paper and then foiled them. Count this cute card-done!


Here, I matted the card with black cardstock and adhered the design paper to it.

I used a 2 inch strip of black cardstock across the center. As before I embossed 'Thanks' in black on white cardstock and reversed the colors on 'for all you do' and adhered them the same way as before. 

I had an extra foiled apple and added it with foam tape too.

I told you these cards were fast, easy and super cute! 

Pick up the Thanks stamp set and coordinating die set today and get started on filling up your Thank You card stash!

Until next time, have fun and Go-Get-Crafty!
-Tia

Tuesday, July 11, 2023

Wrapped Up Like a Present with Koala Santa and Mrs Claus

Hey it's Joy here with you today sharing a cute card with the Koala and Mrs Claus.  I figure everyone loves a present from Santa so why not put one on a card?  


Koala Santa and Mrs Claus

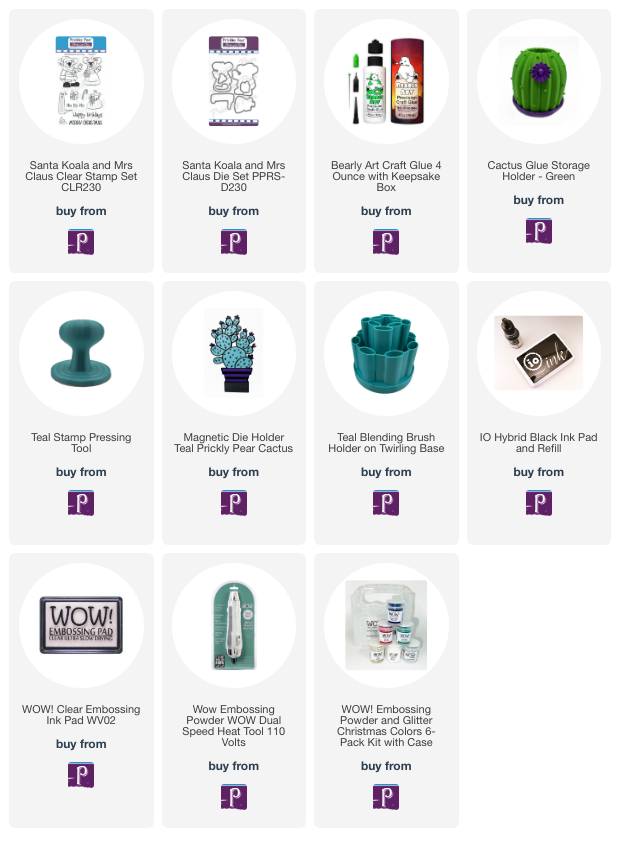
Sometimes you need a quick and simple card, but why not add a simple frill like a bow to step it up a notch? I used a simple gingham and wrapped an embossed square panel to create a present. Then I colored the Santa Koala and Mrs Claus stamp with Copics. I decided to cut it out with the coordinating die and popped him up on foam tape. To finish it off I added a few gold gems from my stash.

Well, friends, I hope you’re feeling inspired from this post! Tag me on Instagram if you make a project using this as inspiration!! I’d love to see how you made it your own!! Xx, Joy

For more Prickley Pear Stamps inspiration check these out:
Shop
Instagram
Prickley Pear Pals Facebook Page
Prickley Pear Stamps Blog
Pinterest


You can connect with me here:
IG @joywilsonink
Pinterest
Youtube


Bye for now!!! 

Wednesday, June 28, 2023

June 28th, 2023 Dainty Dragonflies CLR064 and Dainty Dragonflies Die Set PPRS-D064


Welcome Friends! Tia here with you from RockyMtnCraftia.com. Summer is officially underway and one of my favorite parts of summer as a kid was catching lightening bugs or for some of you Fireflies. So it occurred to me to take the gorgeous Dainty Dragonflies set and create a dreamy nightscape with them.

I started with an A2 sized card base and created my scene on it. I inked the panel with Distress Ink in Faded Jeans, Stormy Sky, Dusty Concord, Victorian Velvet and Spun Sugar. I used white acrylic paint to flick 'stars' across the sky. I then die cut an A2 sized black panel to create a hexagon window and adhered it to my scene. Now, you could draw in the night-plants before, but I chose to do that after my panel was adhered down. To draw the plants I simply used a broad tipped black sharpie.

Now, more of those gorgeous dragonflies! Did I mention that there are 9 dragonflies in the set and in 3 different sizes, so the die set will cut all 9! Brilliant! There are also 2 sets of antennae and two little ladybugs! Seriously, this set is so cute!


After inking in my dragonflies, I layered them with a coat of Wink-a-Stella. Lastly, I die cut the word 'dream' several times with black cardstock. Then glue stacked them together for dimension. Next, I pressed the top layer into VersaMark watermark ink and applied WOW-Metallic Silver Sparkle embossing powder. Now my sentiment outsparkles the dragonflies!

I hope you are having a wonderful summer! Remember to take some time and dream-dream about all the fabulous creations you can make when it's your time to GO GET CRAFTY!

Thanks for following along-see you for Christmas in July!!!

-Tia

Friday, March 24, 2023

March 24, 2023, Moon & Stars Clear Stamp Set CLR274

Hey Y'all!!! Isn't the sky just a beautiful place. Full of the moon and these wonderful stars all shining bright. What a great stamp set to tell someone that you love them. Be sure to check out the new Celestial Collection at Prickley Pear. The Moon and Stars stamp & die set are just one set in a beautiful collection. All the details for making this card yourself are below (including links).

I started by stamping and coloring the moon and several stars on Neenah Classic Crest Solar White paper and coloring it with Copic markers.

COPIC MARKERS:

• Stars & Moon (Y17, B66)


PAPER & EVERYTHING ELSE

• Neenah Classic Crest Solar White 80lb Paper

• Card Stock - Starry Sky, Crushed Curry, Basic White

• Stamp Sets - Moon & Stars

• Ink - Distress Oxide (Antique Linen, Chipped Sapphire), Starry Sky

• Dies - Moon & Stars, Stitched So Sweetly, Border Details

• Bearly Art Glue, Foam Tape, Crystal Stickles, Glitz Glitter Gel (Brillant Blue)


Here is the link for the clear Moon & Stars stamp set and matching die:

Moon & Stars Stamp Set

Moon & Stars Die Set

Moon & Stars Bundle

The card base is cut from Starry Sky card stock. It's cut to 8 1/2" x 5 1/2" scored at 4 1/4" on the long side. Just a tip I learned. Make sure you use your bone folder and burnish the fold well so it doesn't tear the fold.

I cut a piece of Crushed Curry card stock to 5 3/8" x 4 1/8". It's glued directly to the card base using wet glue. Cut a piece of Basic White card stock to 5 1/4" x 4". Used a small brush to color the front of the white card stock with Chipped Sapphire Oxide Ink. Embossed it with a star embossing folder and ran the Oxide Ink pad of Antique Linen across the stars to lift them up a little off the page. Glued this piece directly to the Crushed Curry card stock with wet glue.

I cut two strings of stars using Crushed Curry card stock and an old stars borders set I had laying around. Brushed the strings of stars with Chipped Sapphire Oxide Ink and added a little sparkle with some Glitz Glitter Gel. The strings are glued from the left to right side of the card at a pretty angle.

The moon and stars from the Prickley Pear stamp set are adhered to the card using foam tape so they pop up out of the night sky.


The sentiment is stamped on Basic White card stock with Starry Sky ink. I used my blending brush to add a little Chipped Sapphire Oxide Ink to the background of the sentiment so it wasn't so bright white. Cut it out with a beautiful die and used foam tape to pop it up on the card.

Who are you over the moon over?

Visit the Prickley Pear store HERE


Click below and follow me on Facebook, Instagram & Pinterest!

Instagram / Facebook / Pinterest / Blog


Bring All Your Ideas To Life... ♥

~Teresa


Wednesday, September 28, 2022

Butterfly Sentiments with Resist Technique

Hello Prickley Pear Fans! Tia here from RockyMtnCraftia.com.  Today's team card is a designer favorite! I used the "resist-embossing" technique with the gorgeous stamp set Butterfly Sentiments from the Prickley Pear store. So grab your stamps, break out your inks and embossing powder and let's get started!


Supplies needed:

  • VersaMark Watermark Ink or other Embossing Ink
  • Anti Static Powder/Bag
  • Embossing Powder (clear-detailed is the best starter-lots of use!)
  • Heat Gun (a MUST for embossing, don't use your hairdryer-not hot enough!) and once you start embossing you'll be glad you made the investment!!!
  • Several blending ink pads (I'm not good at blending and think the Ranger/Tim Holtz brand of Distress Ink/Oxides are user friendly)
  • Ink blending tool/brush (have you seen the new Blending Brush Holders in the store? Uhm-YES, please!!!)
  • Kleenex or a paper towel

Embossing Business:

To start, wipe the cardstock with anti-static powder to remove your hand's oils from the card and to avoid embossing powder anywhere other than your stamped image. It will also help to ensure clean crisp embossing lines.

I then used the 'Thank You' butterfly stamped in embossing ink and randomly stamped it around my cardstock. I re-inked each time I stamped. The best part about watermark ink-it stays wet for quite awhile!

I sprinkled the card with my clear-detailed embossing powder and lightly tapped the excess off. (Any excess on your card that you don't want can be wiped away with a thin paintbrush or needle.) Complete the embossing by using a heat gun to set the embossing powder. Not too close-you can burn your paper.


Let's Get Inky:

Next, I selected 3 inks, think light, medium and dark.
  • Fossilized Amber Distress Oxide (light)
  • Worn Lipstick Distress Oxide (medium)
  • Iced Spruce Distress Oxide (dark)
Try to choose 3-4 spaces spread out on your card front for each color. Apply the same idea of (light to dark), then use your lightest color to blend a second time into the darker shades for a clean transition. Don't panic that you are covering up the embossing and a heavy hand with ink blending is fine!

Now, take the Kleenex or paper towel and gently wipe the ink off of the embossed images. Don't they shine!!! I sprinkled a little water onto the oxide and dried it with my heat gun. I also used some white acrylic paint, added a little water to thin it out and with my paintbrush tapped it to flick white paint around the card.

The Finishing Touches:

I chose to die cut my card and then wrapped it with satin ribbon. I also used the Butterfly die from Prickley Pear to die-cut and pop-up on foam tape one butterfly. I added a little of the Worn Lipstick Oxide to the wings and rhinestones to the body. I attached my card to a 4.25 x 5.5 in. yellow cardstock base.


Such a fun and beautiful technique! And the Butterfly Sentiments worked so well with it! I hope you'll give it a try! If you do, post it over in the Prickley Pear Pals Facebook group so I can see it!

Thanks for following along-now, Go Get Crafty!
-Tia