Showing posts with label Prickley Pear stamps. Show all posts

Wednesday, November 8, 2023

Prickley Pear Stamps' Be Merry Instagram and YouTube Hop and Giveaway


Welcome back to Prickley Pear!  We are so excited to share our holiday inspiration with you today while having two hops today, one on Instagram and one on YouTube!   Our designers have come up with gorgeous inspiration for you and what 's even more more fun you will have the opportunity to win one of (two) $25 store credits by participating in the hops.  Be sure to follow, like and comment on the entries along the hop trail!  We sure hope  you enjoy it!  


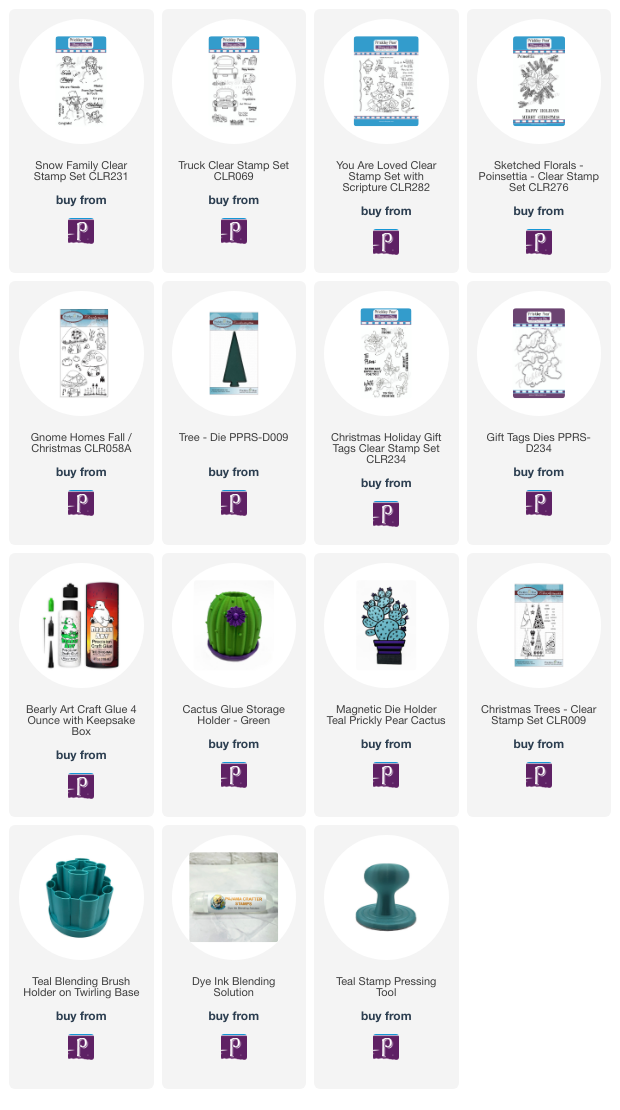
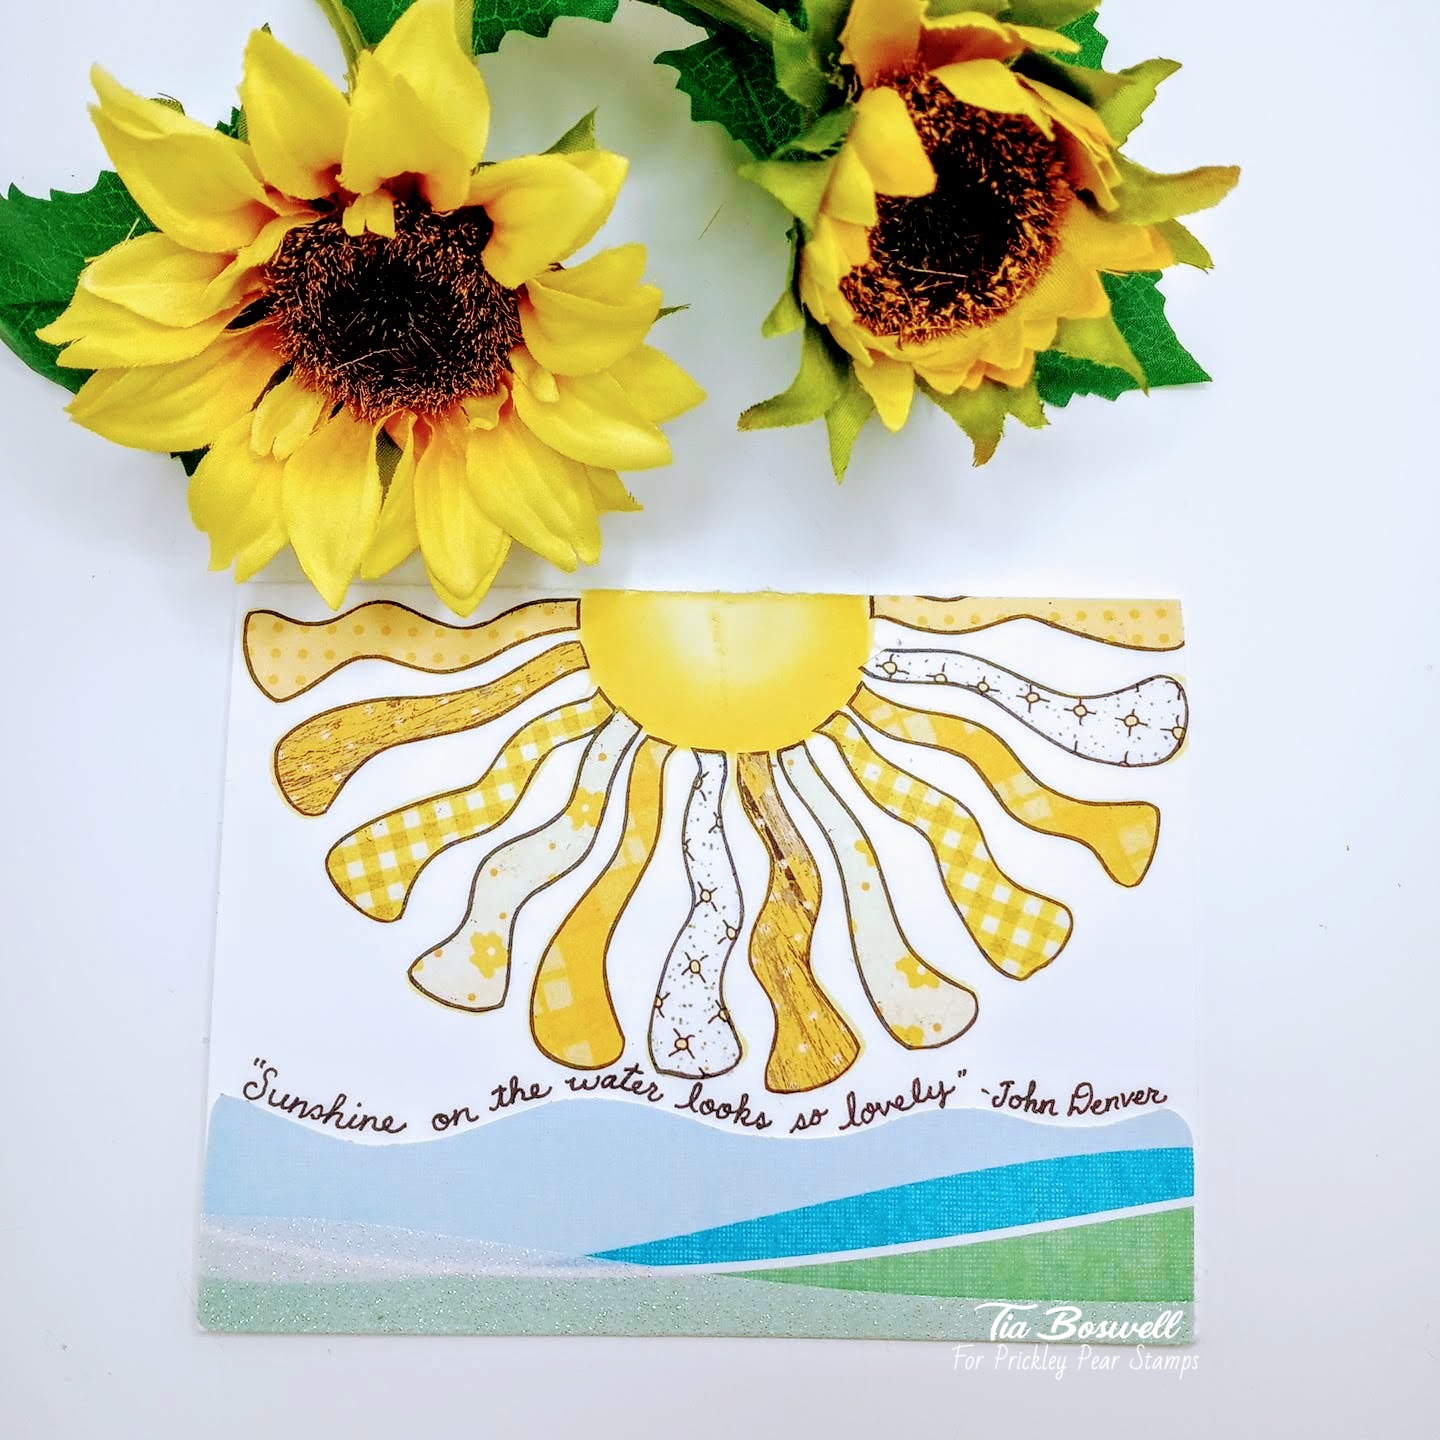
Here are a few sneak peeks you will see along the way!!! 


There will be much more inspiration along the way and we can't wait for you to spend some time with us.   
Start the Instagram hop HERE
Start the YouTube hop HERE

GIVEAWAY: Leave a comment and a "like" and follow each designer at each hop stop for a chance to win a $25 gift card from Prickley Pear Stamps! P. A winner will be chosen randomly from all comments left by November 15 at 11:59PM EST. 
The winner will be announced on Prickley Pear the YouTube on November 17th! 


FTC Disclaimer: This Giveaway is not in any way associated or affiliated with YouTube or any other company. Prickley Pear Stamps sponsors all giveaway products. The official rules for this Giveaway: *All entrants must be 18 years of age (or older) to participate. *This contest ends on Monday, November 15t, 2023, at 11:59 pm ET. We will announce a winner on November 17th , 2023, on the Prickley Pear Stamps Channel , so be sure to check back! This Giveaway is wholly compliant and consistent with the YouTube Terms of Service and is solely sponsored by Prickley Pear Stamps.  


Enjoy the hop and happy crafting!!

Monday, June 26, 2023

June 26, 2023, Chicken Gal Pals Clear Stamp Set CLR271

Hey Y'all!!! Teresa here.  Look at these two fabulous mama chickens and chicks. They are just hanging around watching their two babies and waiting for more eggs to hatch. What could be better? This stamp set, and matching die are so much fun. Be sure to check out them out at Prickley Pear. All the details for making this card yourself are below (including links).


I started by stamping these fun little mama chickens and chicks, on Neenah Classic Crest Solar White paper and colored them with Copic markers.

COPIC MARKERS:

• Chickens & Chicks (R39, R29, R27, YR07, YR04, YR02, Y19, Y18, B97, B95, B91, C1, C00, White Gel Pen)

• Nest (E15, E13, E11)


PAPER & EVERYTHING ELSE

• Neenah Classic Crest Solar White 80lb Paper

• Card Stock - Real Red, Garden Green, Early Espresso, Basic White

• Patterned Paper - Clucker Club

• Stamp Sets - Chicken Gal Pals

• Dies - Chicken Gal Pals, Branch, Grass

• Ink - Memento Tuxedo Black

• Bearly Art Glue, Foam Tape


Here is the link for the clear Chicken Pal Gals Stamp Set & Die:

Chicken Pal Gals Stamp Set

Chicken Pal Gals Dies


The card base is cut from Real Red card stock. It's cut to 8 1/2" x 5 1/2" scored at 4 1/4" on the long side. Just a tip I learned. Make sure you use your bone folder and burnish the fold well so it doesn't tear the paper.


I cut a piece of Clucker Club patterned paper to 5 3/8" x 4 1/8". This chicken wire paper was the perfect background for my little mama chickens. The patterned paper is glued directly to the card base using wet glue.

I used a branches die and cut a few pieces from Early Espresso The are glued randomly with wet glue to the background paper. A small strip of garden green grass that I cut using a border die is cut to 4 3/4" long and glue with a strip of foam tape right along the bottom edge


The nest is glued on top of the grass with a few pieces of branches on top for some added interest. One mama chicken is foam taped on top of the nest and the other is wet glued flat underneath the grass. Two little baby chicks are wet glued to the front of the grass. Gonna have more babies soon!


So many fun sentiments in this stamp set. I used 3 together and cut them like a banner. It's popped up with foam tape too.


Wish I had some chickens in my back yard!


Visit the Prickley Pear store HERE


Click below and follow me on Facebook, Instagram & Pinterest!

Instagram / Facebook / Pinterest / Blog


Bring All Your Ideas To Life... ♥

~Teresa of Lollipots 'N' Polkadots


Saturday, April 15, 2023

April 15, 2023 - Dinosaur Pals - CLR262

Hi Pals!  I hope that your weekend is off to a roaring good start!  Today, I am sharing a fun card that I created using the adorable Dinosaur Pals stamp set! 

I fell in love with this stamp set ages ago, and it is so much fun to create with!  It comes with tons of elements that you can use to create scenes if you want; however, the little dinosaurs are great as a solo focal image on a card too! 


I colored up the images using Copic Markers and used the coordinating dies to cut them out.  I wanted to create a fun, prehistoric scene for them, so I did some ink blending to create the background.  Once it was dry, I used my markers to create the ground.  
I die-cut a frame from the ink-blended panel and popped it up on a card base using foam dots, and then I adhered the center of the ink-blended panel to the card front, creating some dimension.


Once I had the panels in place, I arranged the elements on the front of the card, and drew in some additional grass to make sure that they were grounded.  I heat embossed the sentiments on black cardstock and created banners and arranged them on the card front, tucking them under the frame.  
Lastly, I popped the two dinosaurs up with foam dots so that they overlapped the frame.

I can't tell you how much fun it was to make this card!  I hope that you love it too!  
Make sure to head over to the shop and check it out! 
Thanks so much for spending a few minutes of your day with me!  
Xoxo, Kim
**Affiliate links have been provided at no additional cost to you.  Thanks so much for supporting my hobby!**

Wednesday, April 12, 2023

Hot Air Balloons Stamp Set: How to Create an Easy Sky Scene

Hello, Joy here with you today.  I am so happy to be joining the Prickley Pear Stamps design team and bring you my first project.   I chose to use the biplane from the Hot Air Balloons stamps set to create a fun and easy summer sky.  


I stamped and colored the Biplane stamp from the Hot Air Balloons stamp set and later this month you'll see a project using the balloons. Now there isn't a coordinating die for the plane so I fussy cut this, but the good news is a Hot Air Balloon die is available in the shop if you're using the balloon!

Do you ever struggle with making a sky? I used to as well, but it is quite easy. Now, you could blend inks using your favorite ink pad and a blending brush or tool, but if you're like me you have your alcohol markers out already. When we think of a sky the first thing we want to do is draw in the clouds, but our paper is already white, right?  The key is to blend several colors of blues and blue greens concentrating the darkest color of blue in the center of the striations you create. I typically start by feathering from the sides of my card panel and alternating each level right to left. Think Zig Zags and always extend the color with your next lightest color. If you find that you have too many brush strokes, you can go over it with your colorless blender to push the color back.

Another key design element I like to have on my cards is a lot of contrast. In this example the red is striking against the black and white background. I also like to repeat elements in increments of threes. For instance, the plane is red and the gingham stripe peeking through on each side creates a triangle of red interest. From there the repetitive use of black and white with the papers and embellishments continue to move the eye. Let me know what you think of the bold sentiment from the Hot Air Balloons stamp set? Isn't it striking?

Copic coloring:
Sky: B00, B000, BG 11, BG10
Plane: R59, 29. 46, 24, C 7, 5, 3, 2, 1, 00 BV 23

We have Olo Markers in the Shop and if you're looking for equivalent colors you can hit me up for some suggestions.  

Well, friends, I hope you’re feeling inspired from this post! Tag me on Instagram if you make a project using this as inspiration!! I’d love to see how you made it your own!! Xx, Joy

For more Prickley Pear Stamps inspiration check these out:
Shop
Instagram
Prickley Pear Pals Facebook Page
Prickley Pear Stamps Blog
Pinterest

Hot Air Balloons
Hot Air Balloon


 You can connect with me, Joy here:

IG @joywilsonink
Pinterest
Youtube

Until next time keep crafting!!!


Friday, March 31, 2023

Friday, March 31 - You Are My Sunshine - CLR268

Happy Friday Friends! Tia here from RockyMtnCraftia.com. As we end this new release week, I know many of us on the design team will continue to showcase cards from this extraordinary Celestial Collection! I'm closing out this collection with the "You Are My Sunshine' set and lyrics from one of my favorite songs: Sunshine on My Shoulders-By John Denver.


I love when a stamp set offers the ability for paper-piecing! Such a great way to use up those paper scraps! I picked through my box of yellow scraps and found several pattern papers I wanted to use.

I cranked up Spotify and John Denver and sang while I fussy cut my way through a double-stamping of the Sun from this set. 

I started with an A2 sized card and with my Misti Stamping platform stamped directly onto my card base. I used a baby wipe to clear away the corner line of the sun, so I could create one BIG Sun!

The water came from a paper pad with rows of wavy water and some of it had glitter in it! I cut a piece out and freely cut the wavy top.


I wrote out my sentiment with pencil and then went back over with a fine-tipped Sharpie gel-pen (I love those!)

Thanks so much for following along through this awesome, positive and uplifting stamp set. Make sure you're picking up your favorite set or sets! Try your hand at one of the designs we've shown you or show us one of your own! Head over the the Prickley Pear Pals Facebook Group today and share!

Now go get some "Sunshine on your shoulder", be happy and...
Go Get Crafty!
-Tia
 

Thursday, March 30, 2023

Thursday March 30, 2023, Rainbow Dreams CLR261 Stamps

Hi Friends! Tia from RockyMtnCraftia.com here with another card design from the newly released Rainbow Dreams stamp set. Yesterday I shared a rainbow card made with the big Rainbow stamp. Today I wanted to share lots of little rainbows with EVERYONE! 


I just love each and everyone of the sentiments in this set so much! You're gonna see more card ideas from me on this one-they just keep falling from my head, like this one did! 

When I saw the sentiment 'dreams don't have zip codes', all I could think of was the little rainbow falling down delivering dreams to people! 

I started with a 5x7 sized card and adhered a blue-mottled piece of design paper onto it.  I die cut my building with another piece of design paper that reminded me of brick. I didn't want the buildings to be the focus, so I tried to keep the colors muted, hence-gray doors/windows over bold black ones.

I glued the buildings down and then I stamped the mini-rainbows directly onto the design paper with Long Fog Memento Ink. I stamped randomly and changed directions so the rainbows would appear to be falling down onto the buildings.

Since the rainbow is so tiny, I decided to do solid colors falling down in the rainbow spectrum. Although I could have used all the rainbow colors if I'd colored sideways (non-traditional rainbow coloring), maybe next time!

I stamped the sentiment on scratch-cardstock so I could make the words falling down as well. They looked a little blah-so I outlined them with a black COPIC. 


I love this set because I know a lot of folks who are coming out of the winter doldrums and I plan on sending lots of love and kindness this Spring! 

Thanks for joining me on another Craftia card journey! Make sure you're sharing your cards with us on the group Facebook page-Prickley Pear Pals! I look forward to seeing them out there! 

Until next card-Go Get Crafty!
-Tia

Tuesday, March 28, 2023

March 28, 2023, You Are My Sunshine Stamp Set CLR268

Hey Y'all!!! Teresa here. You are my sunshine, my only sunshine. You make me happy when skies are gray.... I can sure hear my mom singing that to me when I was little. Be sure to check out the new Celestial Collection at Prickley Pear. You Are My Sunshine is just one stamp set in a beautiful collection. All the details for making this card yourself are below (including links).

I started by stamping and coloring the sun and these cute little sunflowers on Neenah Classic Crest Solar White paper and coloring them with Copic markers.

COPIC MARKERS:

• Sun (Y19, Y18, Y13)

• Flowers (Y19, Y18, Y13, RV09, RV06, RV02, BV17, BV13, BV11, YG67, YG63, YG61)

• Pots (E19, E09, E08, E99, E47, E13, E11)


PAPER & EVERYTHING ELSE

• Neenah Classic Crest Solar White 80lb Paper

• Card Stock - Gorgeous Grape

• Stamp Sets - You Are My Sunshine Clear Stamp Set

• Ink - Polished Pink

• Dies - Slimline Everyday Borders, Tags

• Bearly Art Glue, Foam Tape, Dots


Here is the link for the clear You Are My Sunshine stamp set:

You Are My Sunshine Stamp Set

The card base is cut from Gorgeous Grape card stock. It's cut to 8 1/2" x 5 1/2" scored at 4 1/4" on the long side. Just a tip I learned. Make sure you use your bone folder and burnish the fold well so it doesn't tear the fold.

I cut a piece of beautiful patterned paper to 5 3/8" x 4 1/8". Colors are perfect to be the background for my little sunflower friends. It's glued directly to the card base using wet glue.

I cut a piece of Gorgeous Grape card stock with one of the border dies and popped it up with a piece of foam tape across the bottom edge. The sunflowers are glued flat to the patterned paper behind the fun border and the sun is popped up with foam tape in the upper left corner.

I love all the sentiments that are part of this stamp set. I remember my mom singing 'You Are My Sunshine' to me when I was little. Brought a smile to my face.


The sentiment is popped up with foam tape for some additional dimension.

You are my sunshine, my only sunshine...


Visit the Prickley Pear store HERE


Click below and follow me on Facebook, Instagram & Pinterest!

Instagram / Facebook / Pinterest / Blog


Bring All Your Ideas To Life... ♥

~Teresa of Lollipots 'N' Polkadots


Wednesday, March 22, 2023

March 22, 2023 - Moon and Stars - CLR274

 Hi friends!  I am so excited to share this fun card with you using the brand-new release!  I love the Moon and Stars Stamp Set so much.  It is perfect for so many occasions. 

I created a card that I thought would be perfect for a new baby, but it could also be used to tell someone how much that you love them!  

I decided to try my hand at some no-line coloring, as the images are simple.  I used a pale ink to stamp them and then I colored them with alcohol markers.  I used the coordinating dies to cut them out and set them aside. 

I love any excuse to work on my ink blending skills, so I created a fun night sky background using Distress Oxide Inks along with some water splatter.  When the background was dry, I adhered it to a yellow panel and a navy card base. 

I wanted my card to have some movement, so when I die-cut the images, I also cut extras from plain white card stock.  I placed a piece of fishing twine between the colored stars and the white stars, and then I strung them all between the two moon pieces.  I popped the moon up on foam dots so that the stars could dangle.

To finish my card, I made a fun bow and glued a white button to it, followed by some sequins to add a bit of sparkle. 
I absolutely love this card, and I hope you do too! 
Please make sure to head over to the shop and check out this beautiful release!  
Thanks for spending a few minutes with me!  
Xoxo, Kim

Friday, March 10, 2023

March 10, 2023 - Flamingo Boundless Love - CLR215

 Happy Friday, Prickley Pear Fans!  Kim here, today to share a fun shaker card that I created using the Flamingo Boundless Love Clear Stamp Set!  This stamp set is so much fun to create with.  It includes two flamingos facing each other, a whole ton of sentiments, and the best part - a bunch of accessories to dress them up! 

For my card today, I kept it very simple and colored one of the flamingos with Copic Markers, cut it out, and set it aside to make my shaker element.

I die-cut several square frames from cardstock and acetate and created the shaker window.  I set it aside to dry completely.
For the card front, I die-cut the cover from pink cardstock and adhered it to the front of the card.  I added a strip of flamingo washi tape to the top.  I thought it would be a great backdrop for my die-cut sentiment. 
I filled the shaker window with flamingo sequins and adhered it to the card front.  I added the flamingo to the front of the shaker, and followed it with a loopy silver bow and a flamingo brad.

I hope that you love this sweet card as much as I do!  I think that it will be perfect to send to someone celebrating a special occasion. 

Make sure to head to the shop and check out this amazing stamp set! 

Thanks for hanging out with me for a few minutes! 

Xoxo, Kim

**Affiliate links have been provided at no additional cost to you.  Thank you so much for supporting my hobby!**

Friday, March 3, 2023

March 3, 2023 - Happy Beach Critters - CLR220

Hi Prickley Pear Pals!  I am here to share a fun 3-D project that I created using the adorable Happy Beach Critters Stamps and Coordinating Dies.

This is a pop-up shadow-box card that stands on its own and has the cutest little scene inside, but it folds completely flat for mailing. 

I colored the cute little critters with Copic Markers and used the coordinating dies to cut them out.   I assembled the card.  I used some beach themed digital papers for the inside panel, which I tore to create the uneven shoreline.  I adhered the images to acetate and placed them strategically so that they would pop up and out at different heights and depths.
I created a banner for the sentiment which I embellished with a life preserver brad and then adhered it to the card front.  I also created a fun, ratty gingham bow that I embellished with a sunshine brad. 


I can't even tell you how much I love this little card!  I hope it inspires you to get crafty and try something new! 

You can find these little darlings in the shop here!

Thanks so much for spending a few minutes with me! 
Xoxo, Kim

**Affiliate links have been provided at no additional cost to you.  Thank you so much for supporting my hobby!**


Tuesday, February 28, 2023

February 28, 2023, Peace CLR277 Stamps

 Hi crafty friends!  Kim, here, back with another fun card that I created using the new Peace Collection.  This time, I wanted to create a hippie themed mini slimline card, so I focused more on neon colors (a first for me)!

I pulled out my fluorescent Copic markers and worked on finding some color blends that would work and then I set about coloring the images.  Once I was done, I cut them out and set them aside.
I paired a fun tie-dye digital paper with some colored strips and adhered them to my card base.  I added a die-cut heart and a loopy bow and then arranged the images on my card front. 

This card was really out of my comfort zone, but I had SO much fun creating it!  I hope you are inspired to get crafty!   Make sure to head to the shop and check out the new release!  You will not be disappointed! 

Thank you so much for spending a few minutes of your busy day with me!

Xoxo, Kim

**Affiliate links have been provided at no additional cost to you.  Thank you so much for supporting my hobby!**

Monday, February 20, 2023

February 20, 2023 Birthday Banners Stamp Set-CLR062D

Happy Birthday American Presidents! Hi Pear Pals! Tia here with you from RockyMtnCraftia.com It's President's Day and as we celebrate them, I'm also celebrating my son's birthday!


 I've got a fun, bright and energetic masculine card that I've made using the Birthday Banners stamp set from Prickley Pear Stamps.


For this card, I wanted to fill my entire card base with the banners and created a running stream of them across the page using an acrylic block.

I started with a top folded A2 card and planned to run all four banners down the page. I started by measuring the banners. I found that together they would take up 3-inches of my card. That left 1.25 inches for the top & bottom. 

Starting 1.25 inches down I took the longest banner and stamped it the full length across the card. For the second line, I stamped the shortest banner and filled the remaining line with another long banner. Because this banner was "too long", it would naturally run into the third line and I kept this going-alternating the banners until I had created 4 rows. Leaving 1.25 inches at the bottom. 

I selected a fun colorful confetti design paper in 1-inch strips for the top and bottom. I like using a thin 1/4in.  strip of paper to 'cover the seams'.

Before adhering my papers, I selected my Copics to coordinate and colored!


Here is the list of COPICS I coordinated with:

Pink: RV11; R81; R83
Green:G03; G05; G17
Blue: B01; BG02; BG15
Orange: YR65; YR16; YR68
Red: R22; R14; R27
Pink Frosting: R81
Cream Frosting: Y23
Chocolate Frosting: E23; E57

Once I had my base of colors selected I used them randomly to fill in everything on the card-the confetti, cupcake wrappers, hats & stars.

For the flag ends, I initially colored the gap black and then realized I didn't like it! (Yep, I change my mind mid-create all the time!) So, to add some flare, I filled in the darkened ends with an embossing pen and threw on some silver embossing powder. Because, who doesn't love the look of embossing powder!

I completed the card by stamping the birthday sentiment that comes in the set and die cutting it out with a banner die. Orange is my son's favorite color!!!

Thanks for following along with me for this fun birthday card! Stick around, the hubby has a birthday in March and I've got a plan on how to use this Birthday Banners set AGAIN! And the rest of the design team has more AMAZING ideas for you...AND maybe another NEW RELEASE?!?

Until the-you know what to do! 
Go-Get-Crafty!
-Tia