Showing posts with label stenciled background. Show all posts

Thursday, August 17, 2023

Doggone Good Friend Handmade Card

Hello to all my Prickley Pear Pals!  I hope you're having a fantastic day!  Joy, here and I sharing a fun friendship card using the Doggone Good Friend stamp set and coordinating die.  I think it's always good to tell those you care about that you're thinking of them don't you? Well with this stamp set you get three amazing images and get this, eighteen sentiments to build just the right greeting for your phone. I also like that the stamp is diverse and can be used for any occasion if you change up the sentiment. One of my favorite images is the one with two dogs in a carriage. Wouldn't that be great for a baby shower? So many possibilities with this set!!!


Prickley Pear Stamps


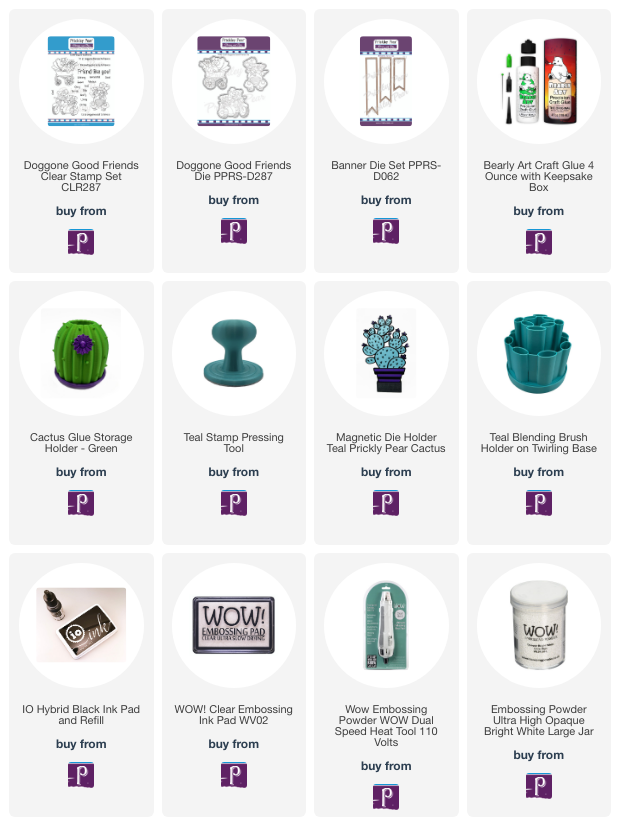
I chose the cute motorcycle with side car stamp that is included in the Doggone Good Friends set and colored it with Copics and then cut it out using the coordinating die. Next I stenciled the flames using Distress Oxides in the colors Mustard Seed and Crackling Campfire onto black cardstock. Once the inks were dry I embossed the top sentiment directly onto the panel using Wow Embossing Ink and white embossing powder. I thought it would be fun to emboss the bottom sentiment onto a Banner die too.

Tip: apply clear embossing powder over the card panel that was inked with Distress Oxides to make sure it is dry. You will know because the powder will stick. Be sure to brush off the powder and dry the ink with a heat tool before embossing your sentiment.

To finish off my card I popped up the elements onto foam tape and then added yellow confetti bling. I think it turned out super cute. Let me know what you think...


For more Prickley Pear Stamps inspiration check these out:
Shop
Instagram
Prickley Pear Pals Facebook Page
Prickley Pear Stamps Blog
Pinterest


You can connect with me here:
IG @joywilsonink
Pinterest
Youtube

Bye for now!!! 

Wednesday, June 14, 2023

Wednesday June 14th, 2023 Ham Camper CLR068 & Die PPRS-D068


Woot Woo Wednesday Campers! We are one week away from the official start of Summer! Crafty Camp counselor Tia here from RockyMtnCraftia.com ready to create more memories with the Ham Camper stamp and die set!

I used design paper from Carta Bella's Botanical Garden pack and coordinated my colors from there. I don't use stencils a lot, but always good to create outside of your comfort zone.

I selected coordinating ink colors (I used inks from Pink Fresh Studios) and a stencil from The Crafters Workshop (Barberry Buds) to create a fun fresh background. 

For quick card design, I utilized one of Kendra's Card Challenge sketches (#10-sketch 5). I love Prickley Pear Stamps Scallop Circle Nesting - Die Set PPRS-D041, and utilized it for the base of the Ham Camper.

I love that with the Ham Camper stamp set, you can mix and match design elements and make dozens of different camper looks! I achieved the diamond plate metal look by using a silver metallic gel pen on the hatch marks. The flowers and awning I popped up with foam tape, along with a sentiment from the stamp set.

Thanks for following along friends! Get over to the Prickley Pear store and grab those Summer goodies and then get outside and 

Go-Get-Crafty!
-Tia

Thursday, April 20, 2023

April 20, 2023, Rainbow Dreams CLR261 Stamps

Hey everybody! I hope you're having a fabulous week! This month is flying by - can you believe we're already on the downslide to May?! Leslie here, sharing a sweet card featuring the Rainbow Dreams stamps which are part of the amazing Celestial Collection! It's been ages since I've played with my stencils so I got out my mini cloud stencil and some distress ink and created a fun background to compliment these amazing stamps!


I cut a standard A2 size top-folding landscape card base from white cardstock and stenciled the cloud background with a mini cloud stencil, distress ink and a blending brush. I stamped the rainbow and clouds from the Rainbow Dreams stamps on white cardstock, colored the rainbow with alcohol markers, and fussy cut them. I added a mini butterfly brad to the rainbow for a little interest. 


I stamped a sentiment from the Rainbow Dreams stamps in the bottom center of the card front, added fluffy stuff to the clouds, and adhered the piece to the card base with foam squares. The finishing touch was adding several white enamel dots. 


Prickley Pear Stamps products used:
Rainbow Dreams stamps

Thanks so much for stopping by today - we'll see you again soon!

Scrappy hugs,
Leslie
Blog / Facebook / Instagram / Pinterest / Twitter