Showing posts with label Friendship Cards. Show all posts

Tuesday, August 15, 2023

August 15, 2023, Doggone Good Friends CLR287 Stamps and PPRS-D287 Dies

Hey everybody! Happy Tuesday - I hope you're having a great week so far! Leslie here, sharing an inspiration project featuring the NEW Doggone Good Friends stamp set with coordinating Doggone Good Friends die set! These are such fun products, I can't even begin to tell you how much I enjoyed creating this friendship card!
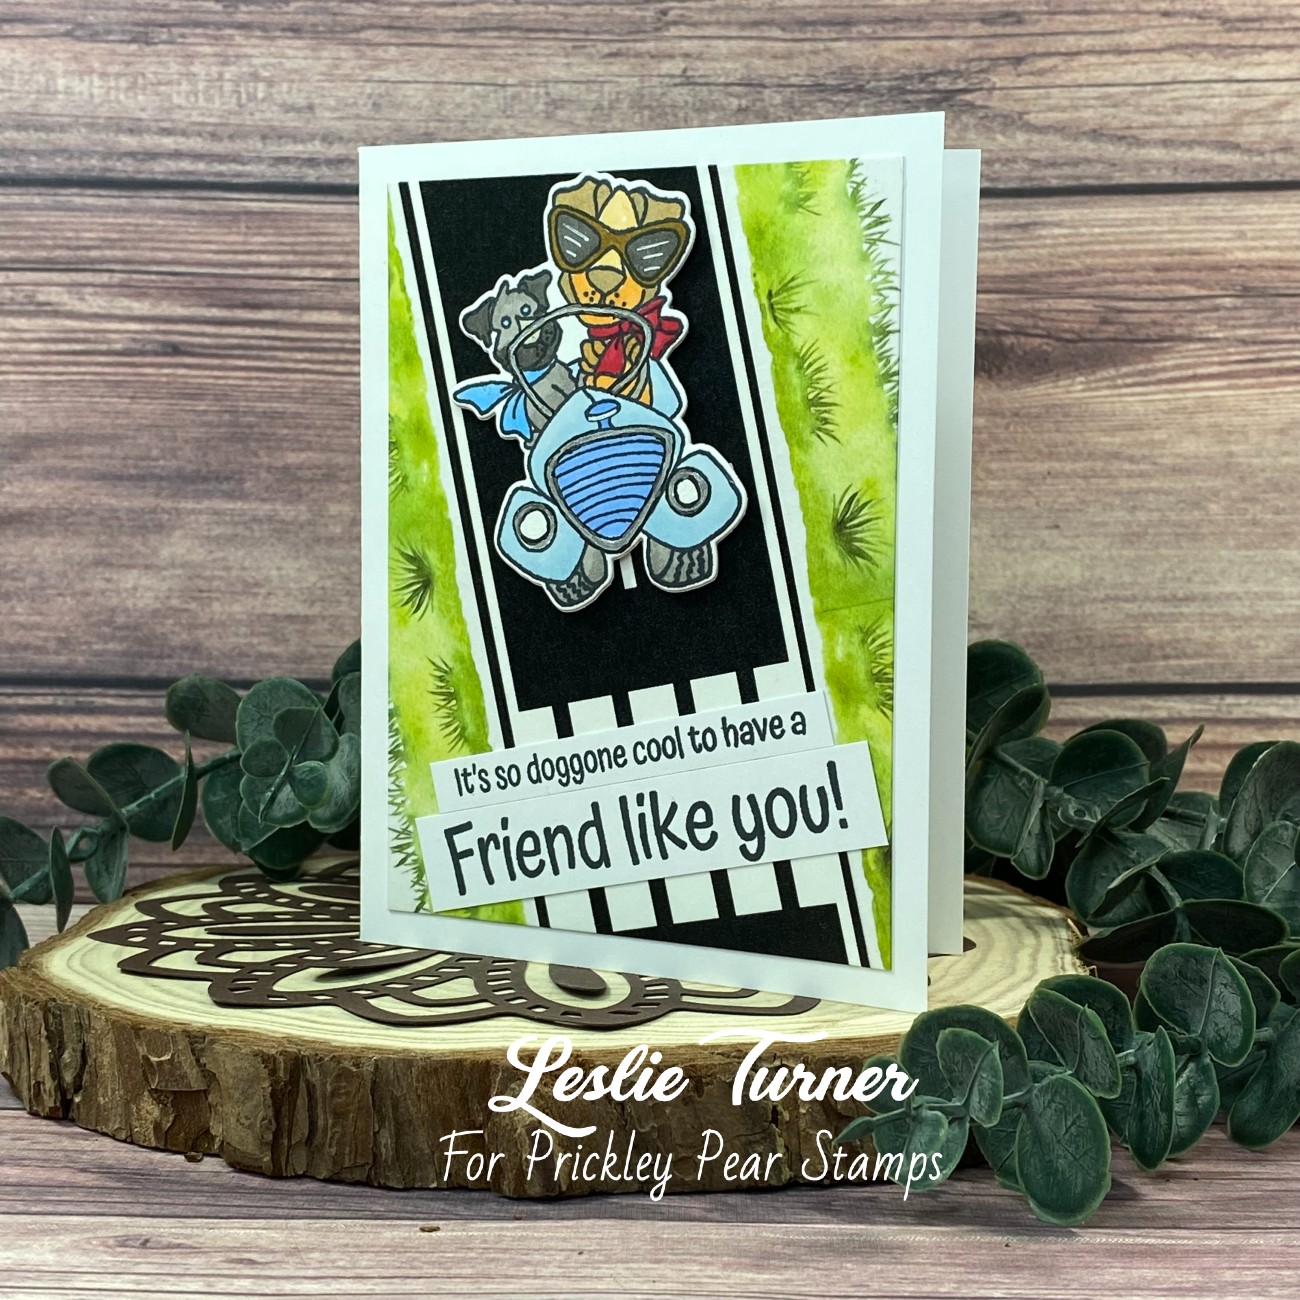


I cut a standard A2 size side-folding card base and layering panel from white cardstock. I applied strips of wide road and grass washi tape on the layering panel to create the background. I stamped the image from the Doggone Good Friends stamp set in black ink on white cardstock, colored it and cut it with the coordinating Doggone Good Friends die set. I added the stamped sentiment which completed the card. 


Prickley Pear Stamps products used:
Doggone Good Friends stamp set
Doggone Good Friends die set

Thanks so much for stopping by today - we'll see you again soon!

Scrappy hugs,
Leslie
Blog / Facebook / Instagram / Pinterest / Twitter

Saturday, April 15, 2023

April 15, 2023 - Dinosaur Pals - CLR262

Hi Pals!  I hope that your weekend is off to a roaring good start!  Today, I am sharing a fun card that I created using the adorable Dinosaur Pals stamp set! 

I fell in love with this stamp set ages ago, and it is so much fun to create with!  It comes with tons of elements that you can use to create scenes if you want; however, the little dinosaurs are great as a solo focal image on a card too! 


I colored up the images using Copic Markers and used the coordinating dies to cut them out.  I wanted to create a fun, prehistoric scene for them, so I did some ink blending to create the background.  Once it was dry, I used my markers to create the ground.  
I die-cut a frame from the ink-blended panel and popped it up on a card base using foam dots, and then I adhered the center of the ink-blended panel to the card front, creating some dimension.


Once I had the panels in place, I arranged the elements on the front of the card, and drew in some additional grass to make sure that they were grounded.  I heat embossed the sentiments on black cardstock and created banners and arranged them on the card front, tucking them under the frame.  
Lastly, I popped the two dinosaurs up with foam dots so that they overlapped the frame.

I can't tell you how much fun it was to make this card!  I hope that you love it too!  
Make sure to head over to the shop and check it out! 
Thanks so much for spending a few minutes of your day with me!  
Xoxo, Kim
**Affiliate links have been provided at no additional cost to you.  Thanks so much for supporting my hobby!**

Saturday, March 25, 2023

March 25, 2023 - You Are My Sunshine - CLR268 and Rainbow Dreams - CLR261

 Hi Pals!  Kim, here, to share another card that I created using some of the beautiful new products available in the shop.  Have you been enjoying the new release this week? 


 I had so much fun creating this bright cheerful card!  I combined two of the new stamp sets to - You Are My Sunshine Stamp Set and Rainbow Dreams Stamp Set.

I used lots of masking along with coloring the images with my Copics, which allowed me to create a one-layer image.  

I paired this with one of my favorite patterned papers, which is actually a Christmas paper, and I distressed the edges with a pair of scissors to add some texture to the card.   I finished up with a fun bow, paired with a cloud brad in the center. 

I hope this inspires you to do something crafty!  I am waiting impatiently for summer to come, but for now, this will be my taste of Vitamin D! 

Thanks so much for hanging out with me for a few minutes! 

Xoxo, Kim