
Supplies: small single dies with matching stamps, ruler, pencil, ink pad, card stock, Big Shot, Cuttlebug or other machine to cut the dies.
First you need to decide what size card you want to do, mine is an A2 size.
Then add your layers of paper and that last layer will be what you will use for the border so
have that size worked out. It's my top layer.

Take your pencil and ruler, measure a 1/2 in from the right side
and draw a line. You can use any side. I decided mine would be on the right.

Now lay out your dies cut side down on the pencil line only about half of the die
should be on either side of the line. Now here's where it gets tricky. You only want
to cut up to that line. Not all the way! Also you might want to tape the dies down so
they don't move. I'm using a magnetic base plate.

Once your dies are cut, remove them and cut away any little
bits left on that pencil line.

Now comes the fun part! Stamp your images!
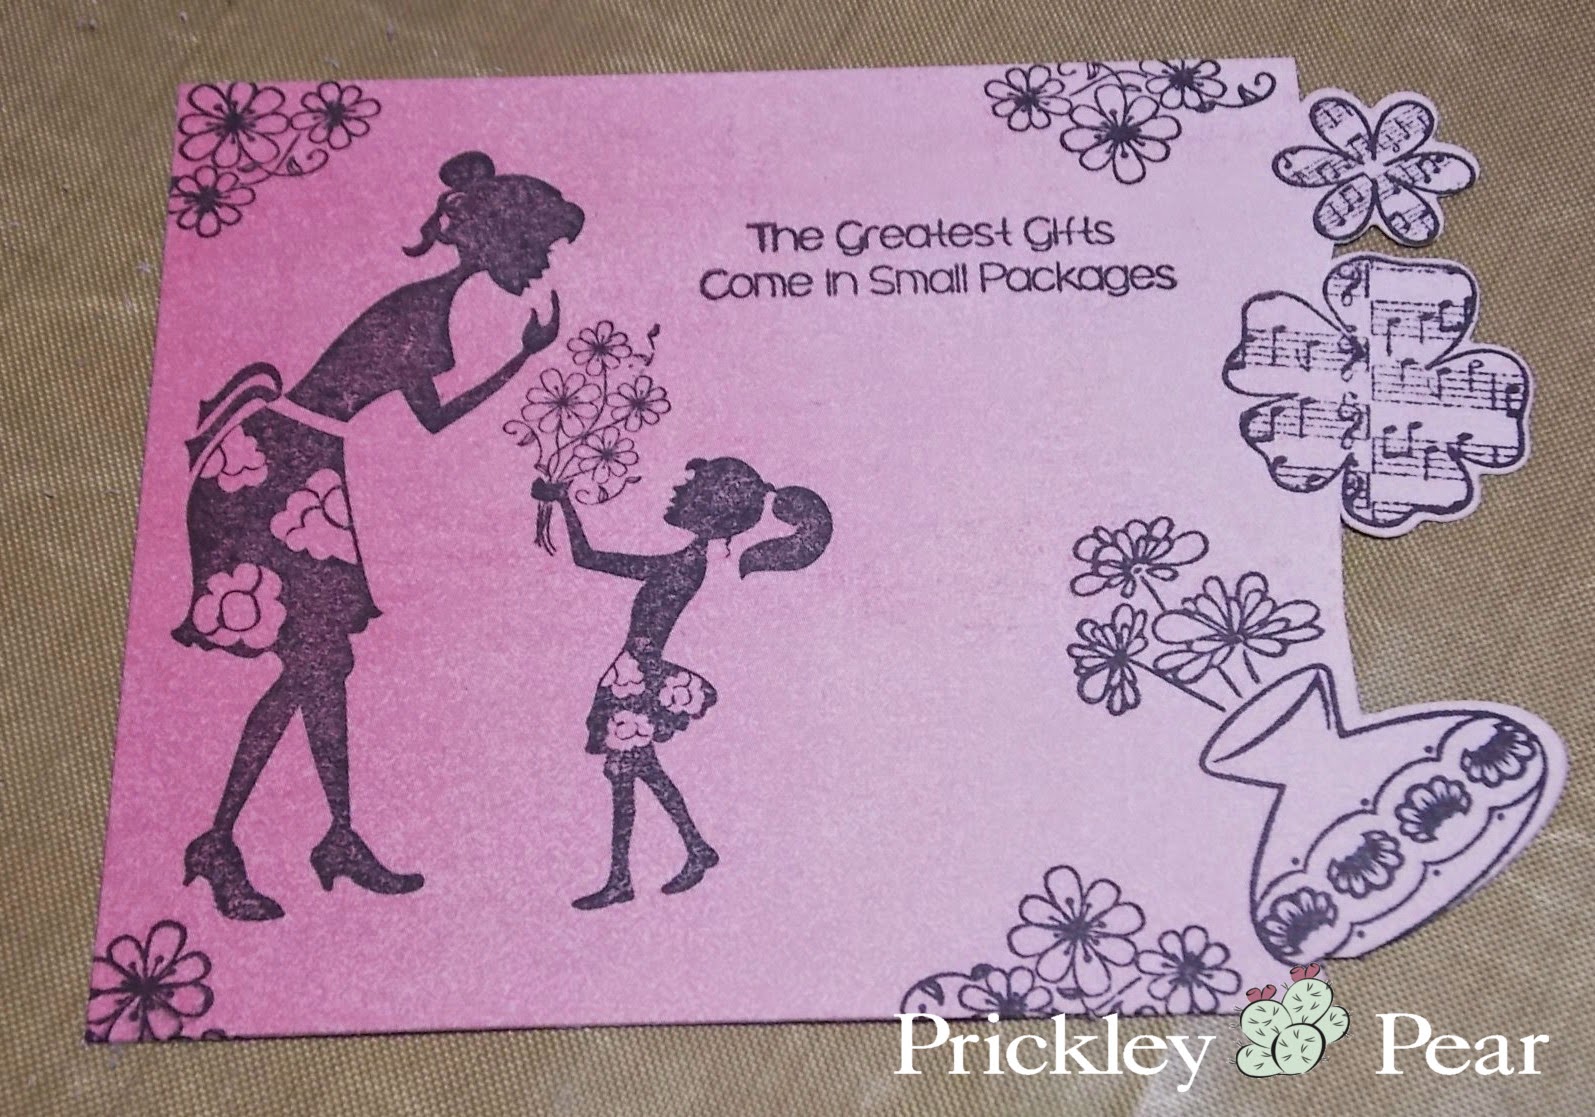
Here's my finished card!

Dies I used: D012 Beautiful flowers die , D046 Vases Die set ,
Stamps: CLR047 Mini Vases clear set , CLR046 Vases clear set ,
I hope you will give this fun and easy tutorial a try!
Happy Stamping!

Very tricky and clever technique, I like it!
ReplyDeleteGreat tutorial. Love it
ReplyDeleteawesome technique!! thanks fr sharing
ReplyDelete-Berina
Moxie Craftie