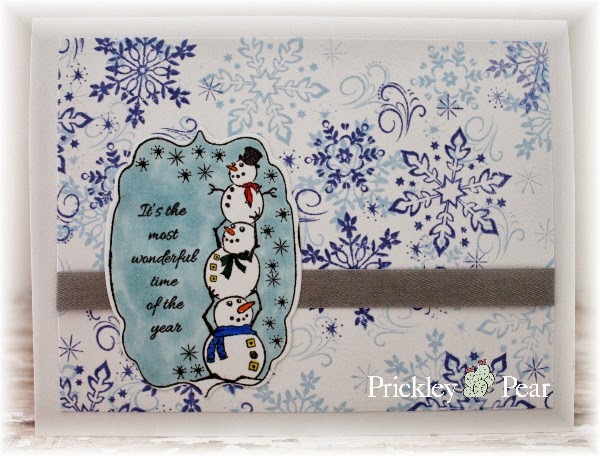
Today’s tutorial is by Tracie and is a Holiday Tissue box cover.
Tracie: I originally got the idea from
Splitcoast Stampers.
I made a few additions to the
box and ended up with this lovely holiday box.
I used an Angel Soft Tissue box but I think they are all pretty much the same
size.
For this project I use My Mind’s
Eye “Mistletoe Magic” Designer Paper.
Cut 2 pieces of Red cardstock 5 1/8” x 9 ½” and score each
piece at ½” and 5”.
Cut four pieces
design paper 4 1/4” x 5 7/8”.
Adhere to
each side of the box.
I decorated the
front of the box with the
GG0184 Snowman with Lantern stamp. I cut out the design with an
oval die.
I then used a scalloped oval
die to give the snowman a little dimension.
When adhering this to your box, remember that you will be adding a top
to the box so you will need to move your oval towards the bottom .
I put double sided tape on each 1/2 “ long end and
put together to form a hollow box.
For the top of the box, cut one piece 6 5/8” x 6 5/8”
square.
Score it at 1” along all 4 sides.
Cut slits on each side to the score
line.
I then centered an oval shape die in the
center of the box and cut it out.
I then
cut out a piece of coordinating designer paper 4 3/8” x 4 3/8” square.
I then centered a scalloped oval die and cut
it out.
Cut four pieces coordinating
designer paper 7/8” x 4 3/8” for the sides of the top.
Adhere to all 4 sides of the top.
Put double sided tape on each corner and form
box top.
I put pieces of double sided tape along the inside of the top
of the box and adhered to the base. I also added the
Poinsettia on the top of the stamped image to give it a little dimension.
This was so easy to make and adds just a little bit of fun to that ordinary tissue box!