

Hello!
Angie, here with a paper doll dress making tutorial!
A month ago for "PPRS Monday Inspiration" I shared the sweet PPRS retro girl: JJ0085 Hanging an Ornament. I changed her from a Christmas image to a pretty in pink valentine and mentioned that perhaps next time we saw her she would go green. I had several comments asking for a little more instruction on how I put together her skirt so today I thought I would share a little tutorial on the skirt making.
I inked up the stamp and then placed a strip of washi tape over the ornament to "mask" it off and stamped image on white CS.
.JPG)
I stamped two skirts on patterned paper, added highlights to the skirt by watercoloring with distress inks and cut them out.

I colored the image and drew a line so that our girl could dangle the "Lucky Charm" sentiment. I got lost in the moment and colored the skirt with distress inks and water totally forgetting that it would be be covered up by the second layer!

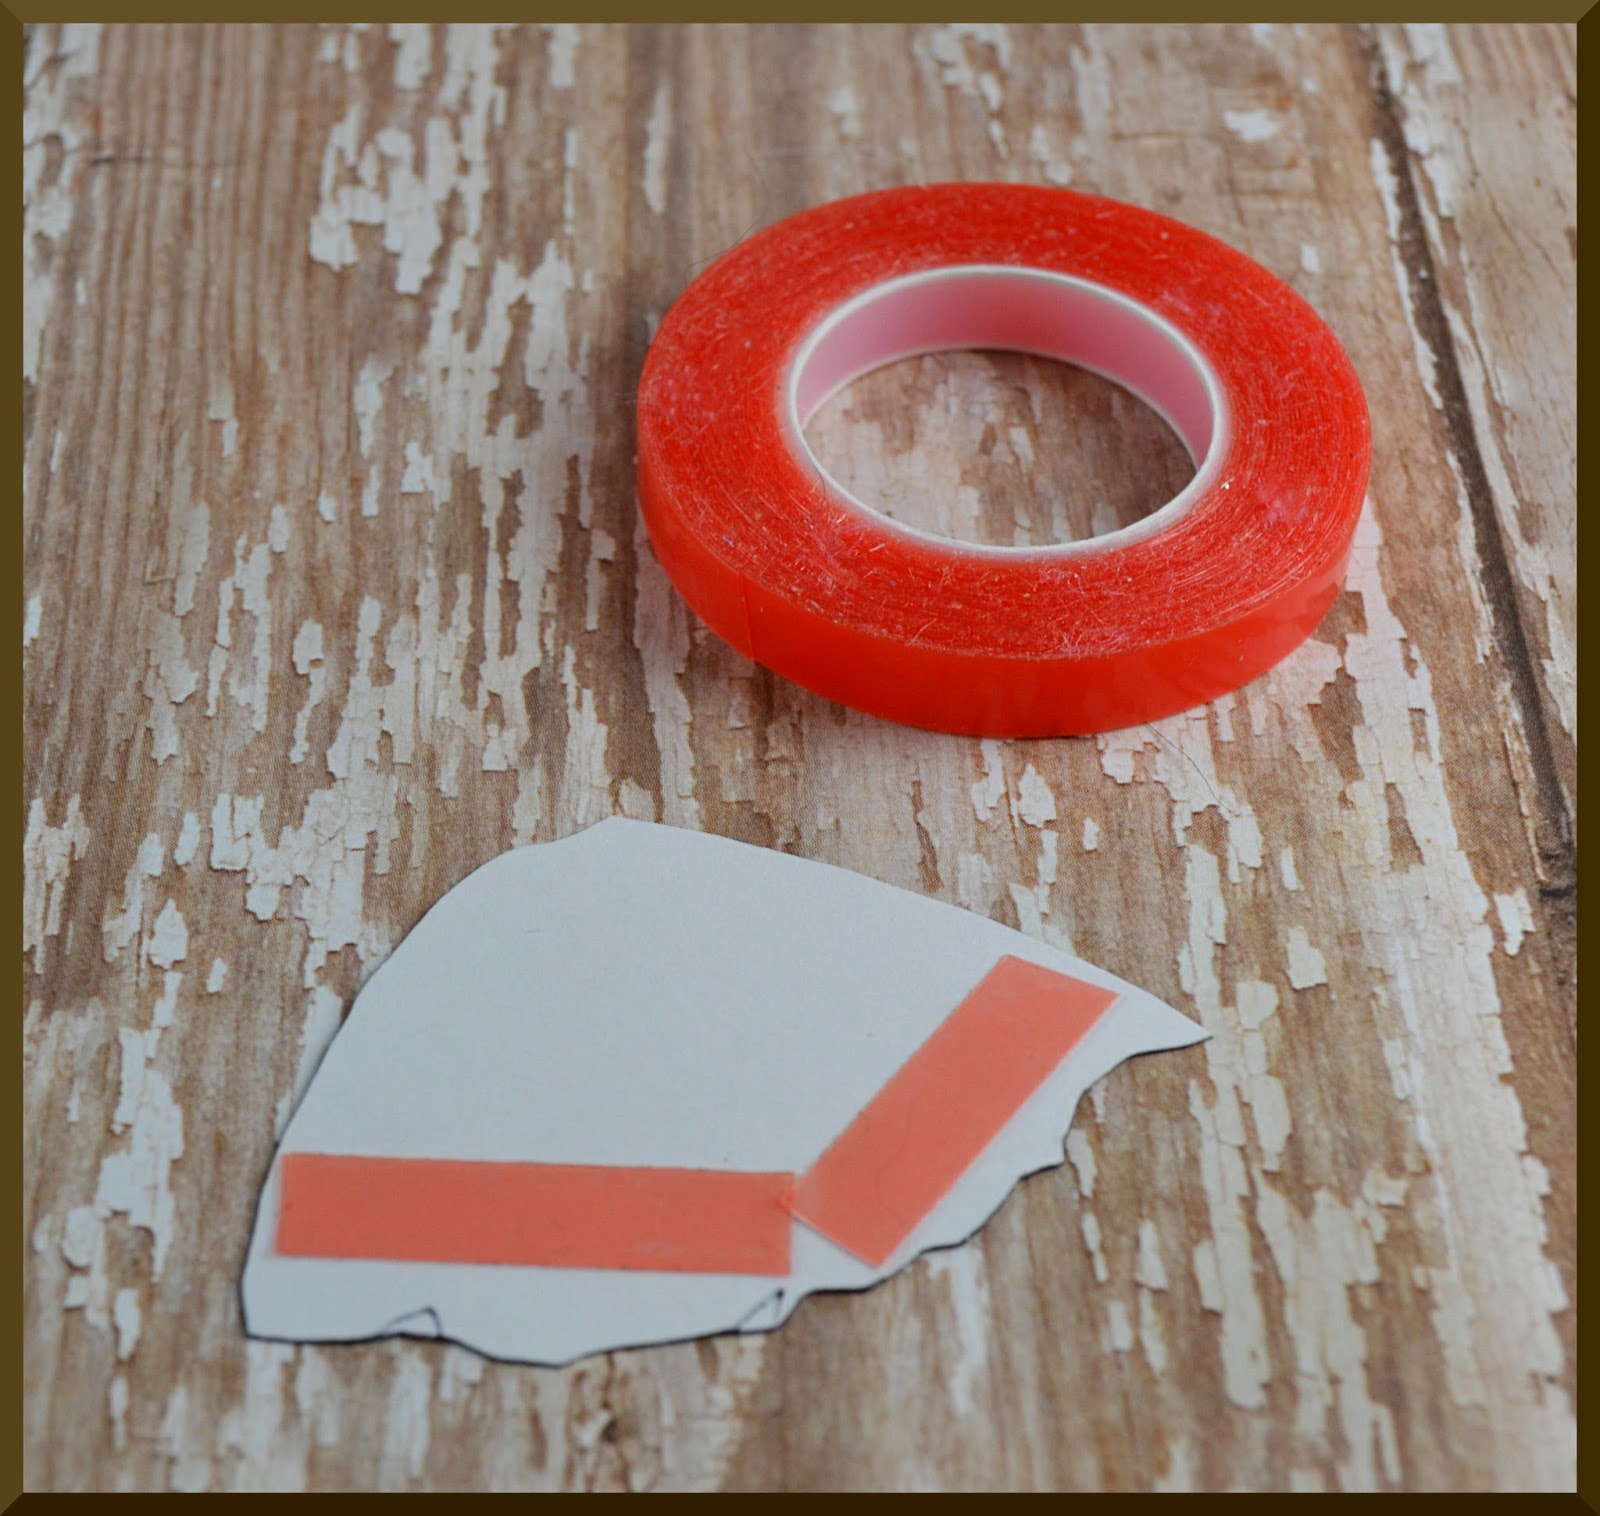
Next, I flipped the second skirt over and and added double sided tape.
I adhered the tulle, pleating it just a bit as I went across the skirt.

I added glue to the top of the waist and slightly down the sides stopping when I came to the tulle then adhered it to first layer of skirt.
Check out all the fun dimension!

The sentiment is from CLR013D Scalloped Circle Oval 5. I stamped and cut out three of the little clover from the clover circle included in the same set and adhered them to the sentiment then I stamped and die cut the bow from sets: CLR036 Stocking clear set, PPRS-D036 Stocking Die Set,

The background layer was created by using the clover circle from CLR036 Stocking clear set.
There we have it. This little lady can do a whole lot more than just "hang an ornament"!
Thanks for looking!!!
I hope you have a fabulous day!
wow!! this is gorgeous!! nice idea..
ReplyDeleteStinkin' cute Angie!!
ReplyDeleteThis is so neat, LOVE it! :)
ReplyDeleteI loved what you did to create the Valentine girl and this Lucky Lass is darling! Thanks for sharing the details so we can give it a go. The card is lovely!
ReplyDeleteAngie love that you made this for St Patty's Day!! Brillant!
ReplyDeleteBeautiful card. Superb idea. Thanks for the tutorial.
ReplyDeleteSo cute! Thanks for the inspiration.
ReplyDelete