Hi all! Here is a super cool technique shared by Lori!
Enjoy!
Soot Stamping Tutorial
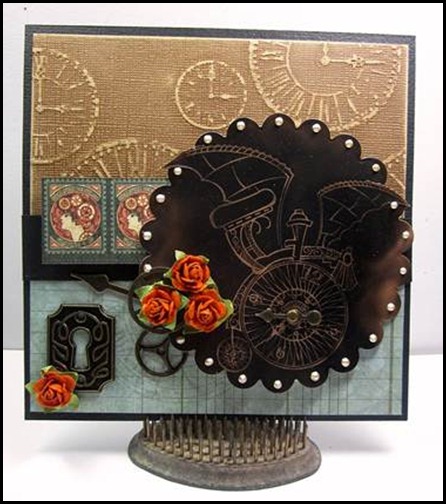
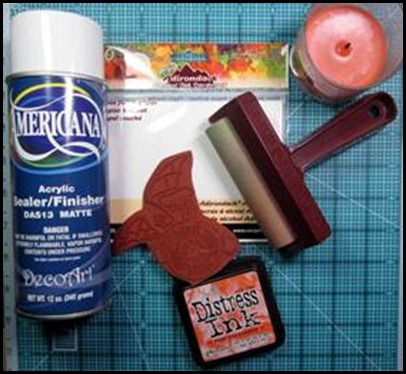
This is a different technique that really seems to go so well with our new steampunk release. Here are the supplies you’ll need to do soot stamping.
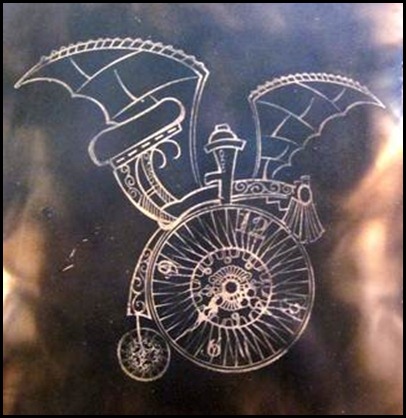
Glossy Paper, Distress Ink, Brayer, Fixative ( I use matte) , a candle and of course a beautiful Prickley Pear Stamp. The one I’ve used here is called Steampunk Locomotive.
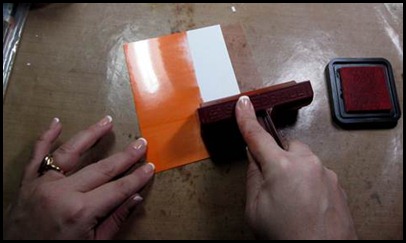
Apply color all over your glossy paper with your brayer and allow to dry. You can touch it with a heat tool if you don’t want to wait.
Here’s the fun but a little scary part. Take your candle and hold it underneath your colored paper…be sure to keep the candle moving especially on the edges as they like to catch fire, LOL. You want to move the candle around with the tip of the flame touching the paper and this will create papers of soot.
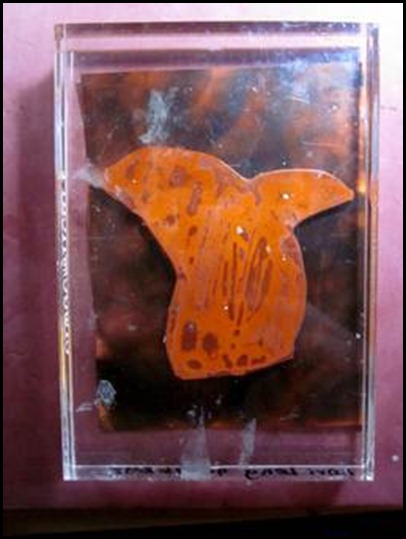
Once you covered the paper with soot, very carefully without touching the surface lay down on hard area and stamp straight down. Don’t rock or wiggle the stamp and come straight up afterwards.
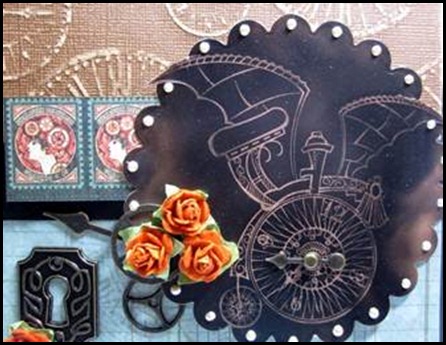
Spray your finished image with a fixative and you’re ready to incorporate into your projects.
Have a fab day!
Lori and the Prickley Pear Team
P.s. You find our ongoing Sketch Challenge HERE!


What a cool idea! Love it!!!
ReplyDelete